
When your employees record their expenses, those entries must be linked to a vendor from the The Vendor List. The vendor list is the primary method of classification for expenses. It can also be used to track non-vendor expenses such as mileage (the default selection), commissions, per diem, and bonuses.
Add a Single Vendor
- Click Vendors in the left menu under Lists.
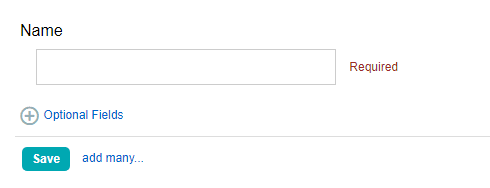
- Enter the vendor name in the New Vendor field. (You may wish to click the Show/Hide Optional Fields link to enter additional vendor details.)
- Click the Save button to save the vendor.
Note: The default vendor is Mileage and cannot be edited, deleted, or archived. The company-wide mileage multiplier rate can be edited in Company Settings.
Import a Vendor List
- Click Vendors in the left menu under Lists.
- Locate and click the blue add many… link.
- On the following page download and open the import file.
- Add vendor names to the file in column A.
- Check the box next to Check for duplicate items before adding if you already have vendors in your list in order to avoid creating duplicate entries.
- Check the box for the header row if you are using the template file and did not delete the first row with table header information.
- Click Browse, navigate to your saved file, and click Open.
- Click the Import button.
Note: The system may reject your import due to errors in the formatting and/or data of the spreadsheet. Please do not hesitate to contact us for assistance with the process. We are here to help!